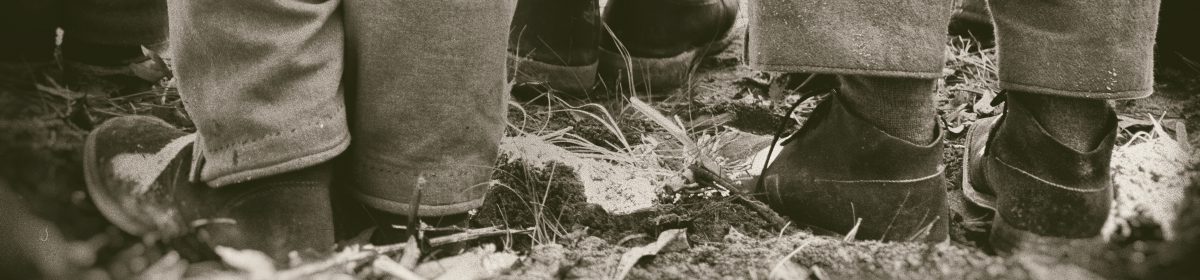
October 5th, 1864: The Battle of Allatoona Pass
Late on the evening of the 4th, along the way from Acworth to Allatoona, French’s Division crossed Allatoona Creek. The railroad crossed the same creek and near the bridge was a Blockhouse occupied by a small garrison of Federals. French assigned the 4th Mississippi of Sear’s Brigade, along with one artillery piece, to stay behind and capture the blockhouse.
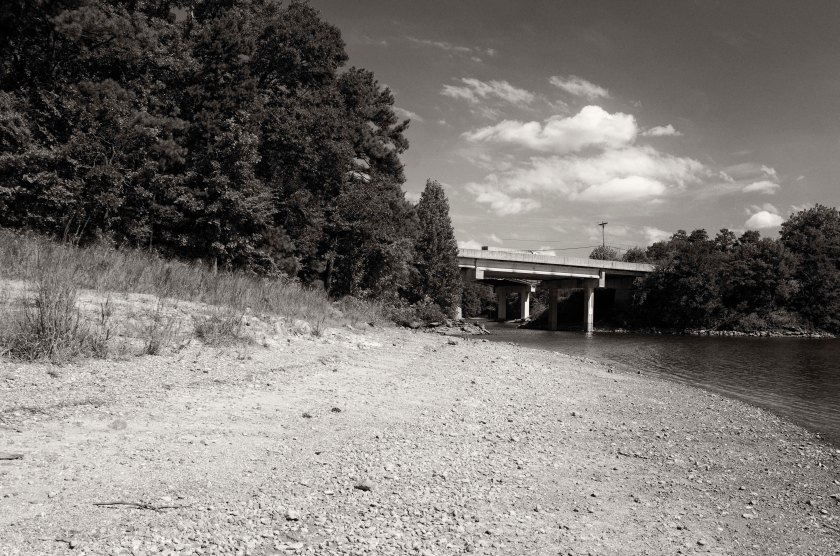
French’s Division continued on with the assistance of a local guide and around 3:00am on the 5th they reached point about 1200 yards from the pass called Moore’s Hill (Allatoona Landing Marina and Campground). On this hill he place 11 cannons and ordered two infantry regiments to stay and support them. Not wanting to attack directly across open ground through the village and along the railroad tracks, French made a flanking movement to the west allowing him to be in a better position for the attack. The terrain was very difficult to traverse, with dense woods and steep sided ravines. At one point French stopped to rest his men who had been in constant motion for two days. French’s Division did not gain their position on the ridge west of the Federals until after day break. Throughout the night the Confederates could hear train cars arriving in the pass. General Corse had arrived with reinforcements.
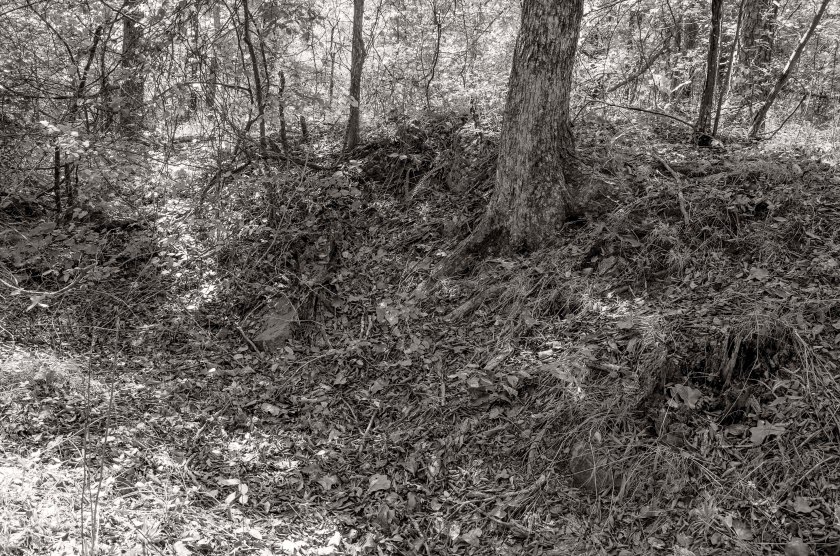
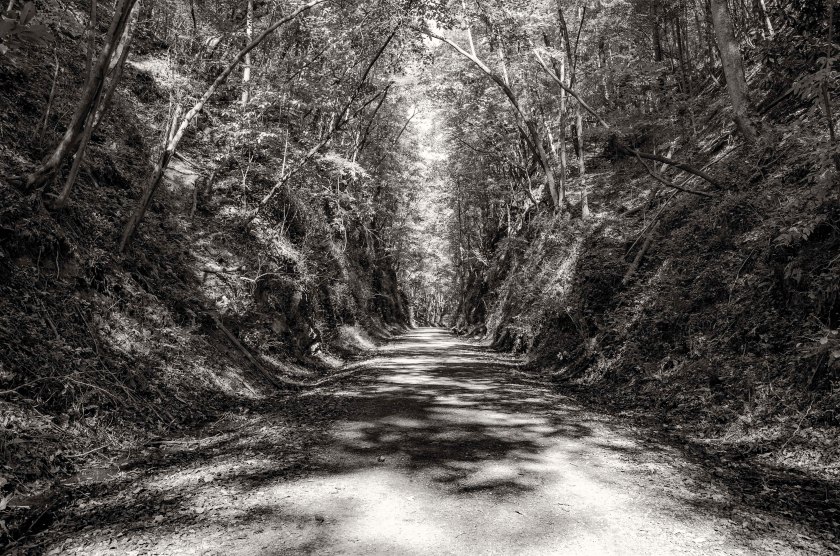
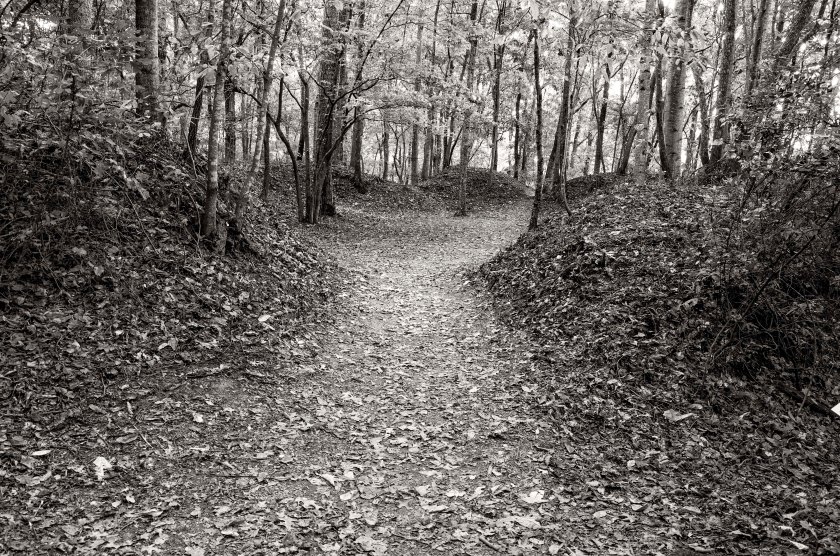
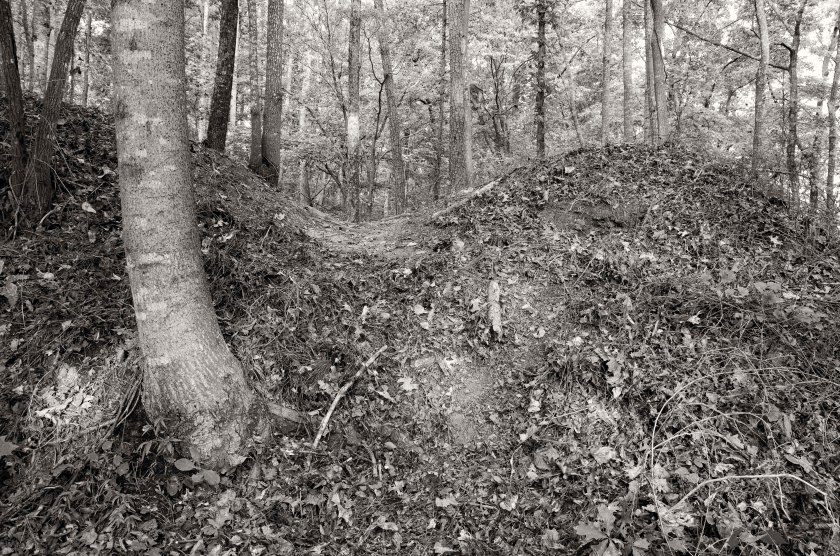
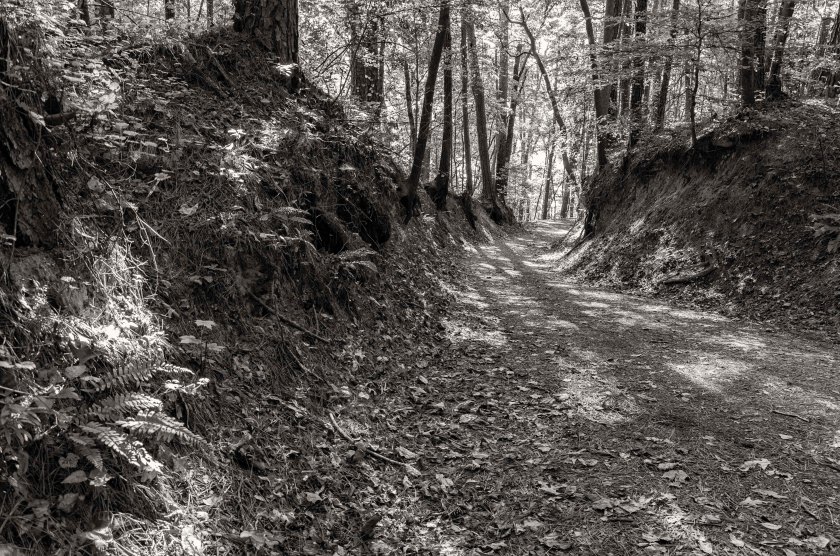
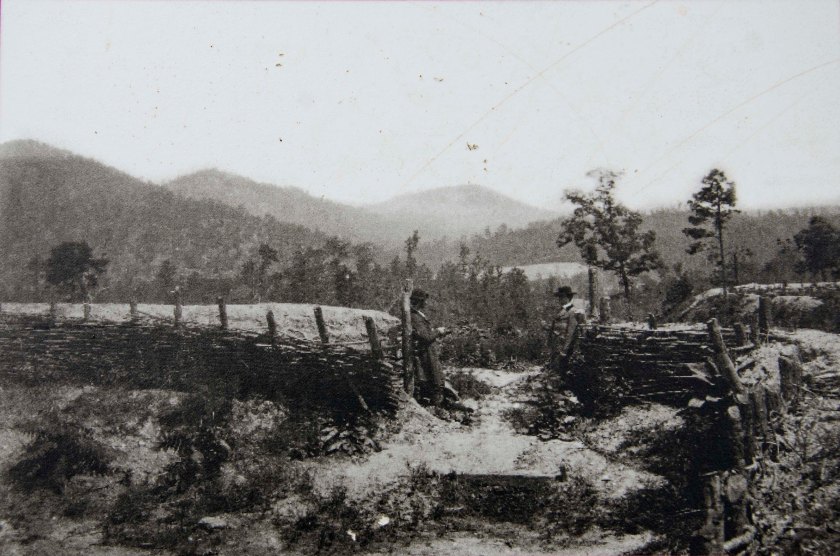
After the Confederates abandoned Allatoona Pass in the spring, Sherman had made it his “second Chattanooga”, meaning that it was his second most important supply depot. A warehouse was built to store supplies for the Federal Army and to protect it, Sherman ordered his Chief Engineer, Orlando Poe, to construct fortifications at the pass. Poe constructed several earth forts. The Eastern Redoubt was on a knoll on the eastern side of the pass and to the east of the Tennessee Road. There were several cannons in the redoubt along with infantry. There was a line of infantry trenches that faced north and moved west from the redoubt to the Tennessee Road. They crossed the road on high ground and went all the way to the edge of the pass. West of the pass and situated on the high ground, was the Star Fort. It also contained artillery and infantry. The fort gets its name from its shape. There are infantry trenches around the fort and moving west from the pass on the north side of the fort. The hillside is also covered with rifle pits. West of the Star Fort, spanning the Cartersville Road, was Rowett’s Redoubt. There were several cannons as well as infantry positioned here. Rowett’s Redoubt was facing west and would take the initial brunt of the attack.
After being reinforced, the Federals were able to man their position with just under 2000 soldiers. The Confederates had arrived with around 3200 soldiers, but had been on the move for two days. The Federals may have been outnumbered, but they held a strong position on the high ground and a large number of the infantry were armed with the new Henry Repeating Rifle, giving them the advantage in firepower.
French sent Sear’s Brigade to the North, where they were to attack the pass from the north west. Cockrell’s Brigade was west of Rowett’s Redoubt, they were spread across the ridge from north to south. Ector’s Brigade was supporting Cockrell’s on the left, stretching north. Ector’s Brigade was being commanded by General William Young.
After the deployment of his troops, French, sent a message to the General Corse stating that he was out numbered and asking the Federals to surrender. Corse declined to surrender. Upon the refusal to surrender, the order to attack was given. Cockrell’s Brigade advanced from the west and quickly took the first line of Federal works. They were stalled at the second line until Ector’s Brigade moved up in support and they were able to carry the second line. They fought their way to the third line of works and engaged the Federals in hand to hand combat with muskets as clubs, bayonets striking and stabbing and even rocks were used. Amidst the heavy fire coming from the Star Fort, the Confederates were able to make it within several yards of the prize.
Sear’s Brigade attacked from the north and moved south astride the railroad and up the steep hill towards the Star Fort on the western side and the toward the trench lines on the eastern side. For a short time, Sear’s Brigade, was slowed down by enfilading fire from the Eastern Redoubt, but were able to rally and press forward.
Ammunition was starting to run low for both sides. During the hot conflict at the Star Fort, they started to run out of ammunition for the artillery. Volunteers, ran under intense fire, across a small foot bridge that crossed the pass some 90′ in the air and ran to the Eastern Redoubt to retrieve ammunition and carry it by hand back to the Star Fort. Several were shot off of the bridge. The Federals were on the verge of collapsing under the pressure of French’s assault.
Around noon, French received word that Federal Cavalry was approaching and were currently in Big Shanty some eight miles away. With his supply wagons nearly a mile from the front, French felt he could not resupply his assault force in time to capture the forts and then be able to withstand an attack from Cavalry. French called off his assault and began to withdraw from the field. The fight was over and the Federals were relieved as they were on the verge of breaking and being overrun. French’s forces withdrew and marched back towards New Hope Church to link up with the remainder of the Confederate Army.
They Battle of Allatoona Pass is often over looked and glossed over, but it was one of the most fierce engagements of the war with casualty rate of 33% in only a few short hours. The casualty rate at Gettysburg was 32.5% over a three day period. Chickamauga had a casualty rate of 27.5% over two days. The Clayton House, which still stands today, is visible in the period image by George Barnard. It sits just south of the Star Fort and across from the rail road. It was used as a headquarters for the garrison and during the battle the house was used for a hospital. I was able to tour the home and witness the scars of battle that still exist. There are multiple bullet holes in the walls and in the room used for amputations, there is a fairly large blood stain still on the floor where it soaked in to the wood.
If you would like a more detailed description of the battle along with information and stories from personal accounts, I highly suggest reading The Battle of Allatoon Pass by Brad Butkovich. It is a very well written book on the battle.